Here’s the one thing worth knowing before you start: dolsot bibimbap is regular bibimbap plus exactly one new skill, and that skill is building nurungji, the crust of toasted rice on the bottom of the bowl. Everything else — the namul, the sauce, the egg — is identical to the bibimbap you may already make. If you already have that part down, this whole recipe is really just three techniques: heating the stone empty, coating it properly, and then leaving it alone. Get those three right and the crust takes care of itself.
Quick Facts
| Time | 30 min prep, 25 min cook |
| Makes | 2 bowls |
| Difficulty | Medium — one new technique, low margin for error |
| Spice level | 2 / 5, adjustable with the sauce |
| Vegan? | Yes, with the tofu and no-egg swaps below |
What Makes This Different From Regular Bibimbap
Bibimbap served in a hot stone bowl instead of a ceramic one is what turns it into dolsot bibimbap — dolsot just means “stone pot.” The dish is most associated with Jeonju, where it’s traditionally served with beef broth stirred through the rice and a raw egg yolk resting on top, and it’s worth ordering there if you ever get the chance. But the version most people actually cook is simpler: the same rice, namul and protein as any bibimbap, pressed into a screaming-hot stone bowl instead of a regular one, so the layer touching the surface fries into a crisp, golden crust while you eat.
That crust is the entire reason to bother with a stone bowl at all. Without it, dolsot bibimbap is just bibimbap in a heavier dish.
The Bowl You Actually Need
A real Korean dolsot is unglazed stoneware, thick-walled, made to hold heat for a long time after it leaves the stove. If you’re going to cook this more than once, it’s worth buying — they’re inexpensive, widely sold online, and last for years.
If you don’t have one yet, a small cast-iron skillet gets you most of the way there. Cast iron holds enough residual heat to keep frying rice after it goes in, which is the whole mechanism. A thin nonstick or stainless pan does not; it loses its heat the moment cold rice touches it, and you’ll end up with warm rice and no crust at all. Cast iron is genuinely the only substitute worth attempting, and it’s what I used for a year before I bought an actual stone bowl.
One safety note that matters more than people expect: never run a hot stone bowl under cold water, and never set it down wet-side-up on a cold countertop straight off the stove. Stoneware and cast iron both handle heat far better than they handle a sudden temperature swing, and thermal shock is exactly how a stone bowl cracks. Let it cool most of the way on its own before it goes anywhere near the sink.
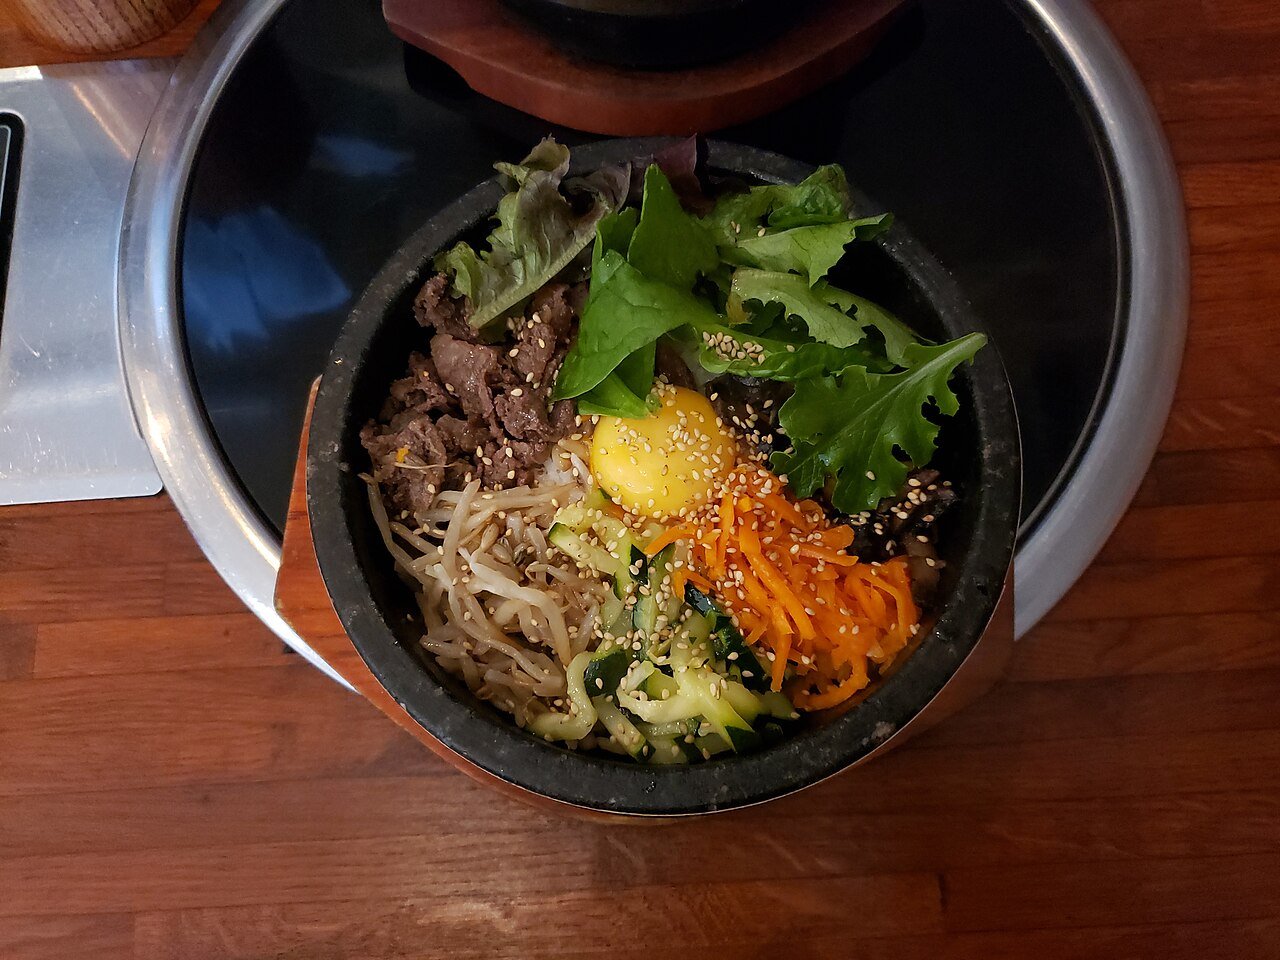
Dolsot Bibimbap Recipe
Ingredients
Method
- Prepare the namul (soybean sprouts, spinach, carrot, mushrooms) and the protein exactly as you would for regular bibimbap, and set each aside separately.
- Set the empty stone bowl over medium heat for 5 to 8 minutes, until a flicked drop of water skitters across the surface rather than sitting and boiling.
- Brush the inside generously with 2 tbsp sesame oil, all the way up the sides — more than looks reasonable.
- Press the warm rice into the bottom in an even layer, working quickly since the bowl is already hot underneath it.
- Arrange the namul, protein and egg on top and leave the bowl completely alone over medium-low heat for 3 to 4 minutes, listening for a faint crackle from underneath.
- Loosen the sauce ingredients together until they ribbon off a spoon, then take the bowl off the heat.
- Bring it to the table still sizzling, spoon over the sauce, and mix at the table, scraping the crust up from the bottom as you go.
Building the Crust, Step by Step
Heat the bowl empty first. Medium heat, 5 to 8 minutes, nothing in it. You’re testing for the point where a flicked drop of water skitters across the surface and evaporates almost instantly, rather than sitting there and slowly boiling. That’s your signal the stone is actually hot enough, not just warm.
Oil it more than feels reasonable. Brush 2 tablespoons of toasted sesame oil over the entire inside surface, working it up the sides, not just across the bottom. This oil is doing the actual frying — it’s the difference between a crust and rice that just sticks and scorches unevenly. This is not a place to save oil.
Press the rice in fast. Warm rice, spread into an even layer with the back of a spoon, while the bowl is still hot underneath it. Every second you spend arranging it is a second the bottom layer is already starting to fry, so have your namul and protein staged and ready before this step, not after.
Then leave it alone. Arrange everything on top, drop the heat to medium-low, and walk away for 3 to 4 minutes. This is the step almost everyone gets wrong, because it feels like nothing is happening. Stirring, checking, or lifting the rice at any point in that window interrupts the crust before it forms — you’ll hear a faint crackling sound when it’s working, and that’s your only confirmation until you actually scrape the bottom at the table.
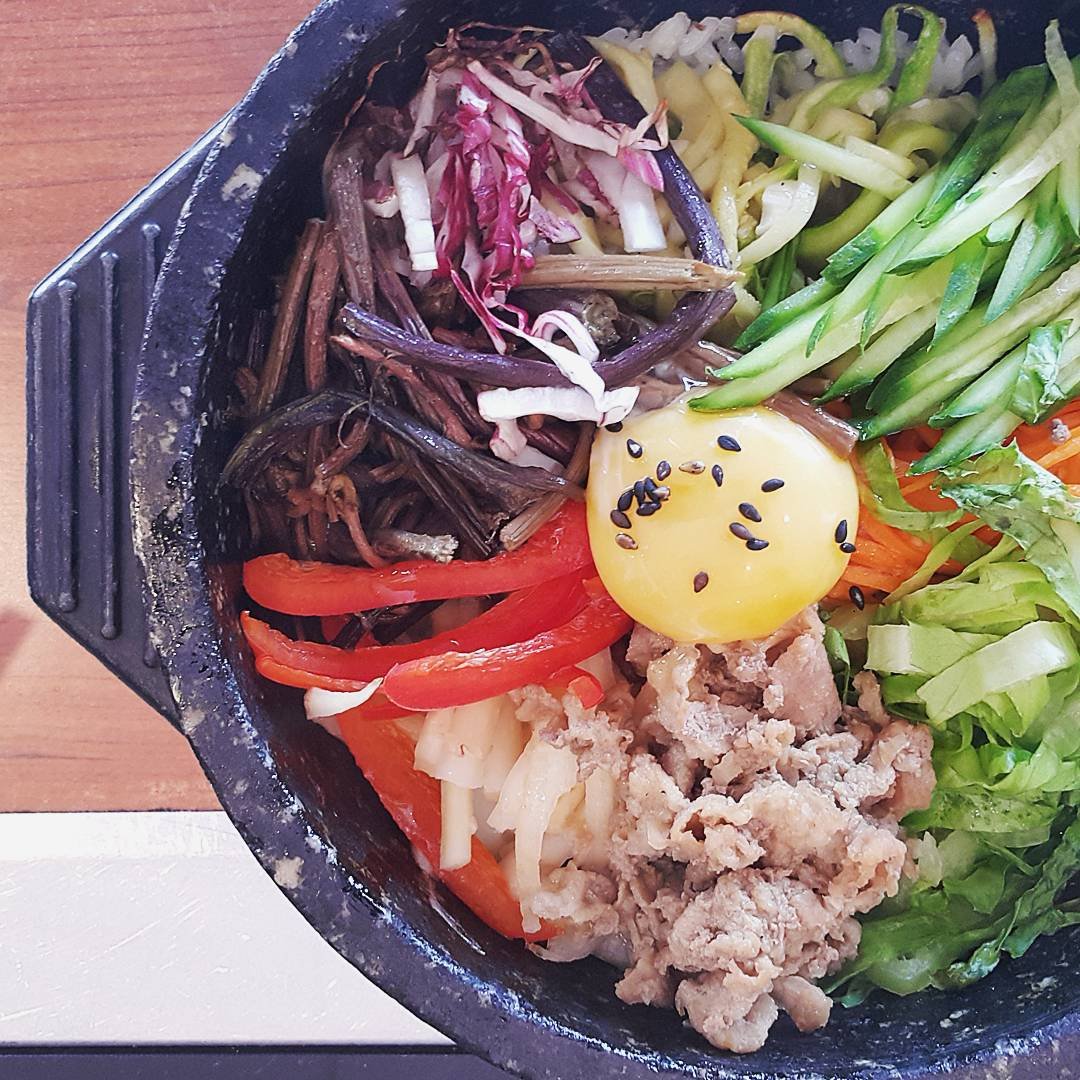
The Rest of the Bowl
The namul, the protein and the sauce are exactly what goes into a regular bowl of bibimbap — seasoned soybean sprouts, blanched spinach, sautéed carrot and mushrooms, a little beef or tofu, and a loosened gochujang sauce. If you haven’t made bibimbap before, the full walkthrough covers each vegetable’s cooking method, the failure points around wet namul, and how to loosen the sauce so it actually coats the bowl instead of sitting in clumps. There’s no reason to relearn any of that here — the only genuinely new step in this recipe is what happens to the rice once it hits the stone.
For a vegan bowl, press firm tofu for fifteen minutes, cube it, and pan-fry it until the edges are golden before seasoning it the same way you would the beef. Skip the egg entirely rather than frying a substitute — a bare yolk cooks itself against the hot rice if you want that texture without a separate pan, and it’s genuinely one of the better parts of eating this dish over a plain bowl.
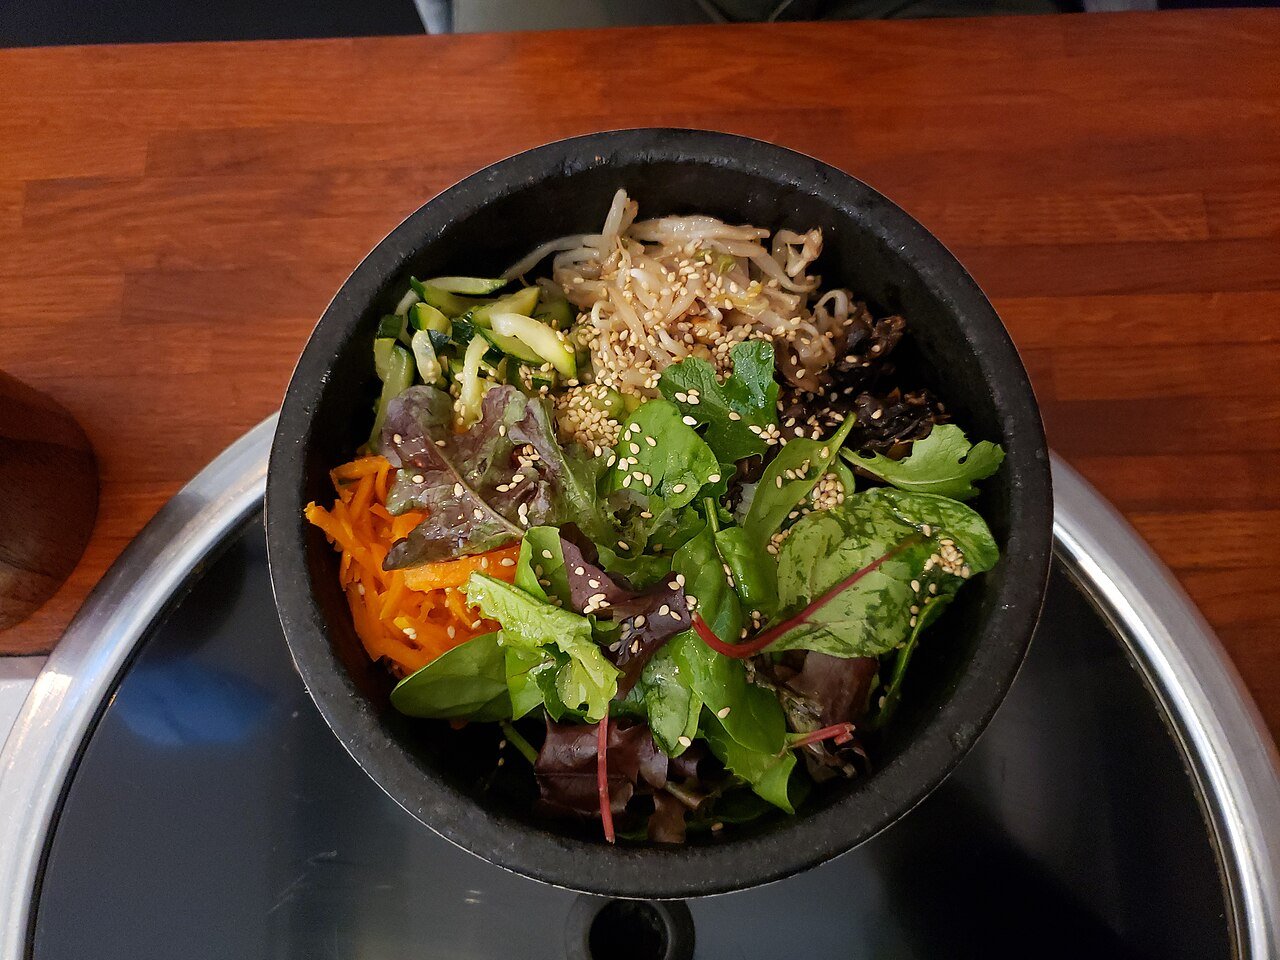
Serving It, and Why You Shouldn’t Mix Right Away
Bring the bowl to the table while it’s still audibly sizzling — that sound is the crust continuing to form even after you’ve stopped cooking, and it’s most of the show. Spoon the sauce over, then wait ten or fifteen seconds before you start mixing. Stirring the instant it lands cuts that window short.
When you do mix, cut down through the rice and fold from the bottom the same way you would for regular bibimbap, but drag your spoon along the very bottom of the bowl each time you turn it. That’s how you actually get pieces of the crust distributed through the bowl instead of leaving them stuck to the stone, which is the entire point of having made one.
Where This Goes Wrong
Three problems account for almost every disappointing bowl. A bowl that wasn’t hot enough at the start, which gives you warm rice with no crust regardless of how long you leave it — check for that skittering water drop before anything else goes in. Rice that was too wet, which steams instead of frying; this is why the rice needs to be cooked slightly dry, the same 10 percent reduction as regular bibimbap. And impatience — checking or stirring during the 3 to 4 minute rest, which is the single most common way people end up with sticky, unevenly scorched rice instead of an even crust.
Leftovers don’t reheat well as dolsot bibimbap specifically, because the crust doesn’t survive a trip to the fridge. Store the components separately the way you would for regular bibimbap — the storage notes there apply directly — and if you want a crust again the next day, you’re better off starting the stone-bowl process fresh with the leftover rice and toppings rather than trying to microwave the whole thing back to life.
Common Questions
Can I make dolsot bibimbap without a stone bowl?
Yes, with a cast-iron skillet, which holds enough heat to keep the rice frying after it goes in. A regular nonstick or stainless pan won’t work — it cools too fast and you’ll get warm rice with no crust. If you don’t have either, you can still make excellent regular bibimbap; you’ll just be skipping the crust, which is the one thing this version adds.
Why did my rice stick and burn instead of forming a crust?
Almost always too little oil, or a bowl that wasn’t hot enough before the rice went in. The sesame oil has to coat the entire surface generously — brushed thin, it lets rice stick directly to the hot stone and scorch unevenly rather than frying into an even layer. Check the water-drop test on the empty bowl next time, and don’t be stingy with the oil.
Do I have to mix it as soon as it arrives at the table?
No, and you shouldn’t. Give it ten to fifteen seconds after the sauce goes in — the rice is still crisping against the stone during that window, and mixing immediately cuts it short. Once you do start, drag your spoon along the bottom on every turn so the crust actually mixes into the bowl instead of staying stuck to the stone.
Related
If you haven’t built a regular bowl of bibimbap yet, that’s the place to start — this recipe assumes you already know the namul and the sauce, and only adds the stone-bowl technique on top. A bowl of kimchi jjigae on the side is a normal pairing at a Korean table, and if you’re still stocking your pantry, the Korean pantry starter kit covers which sesame oil is worth buying — it matters more in this recipe than almost any other, since it’s doing the frying.