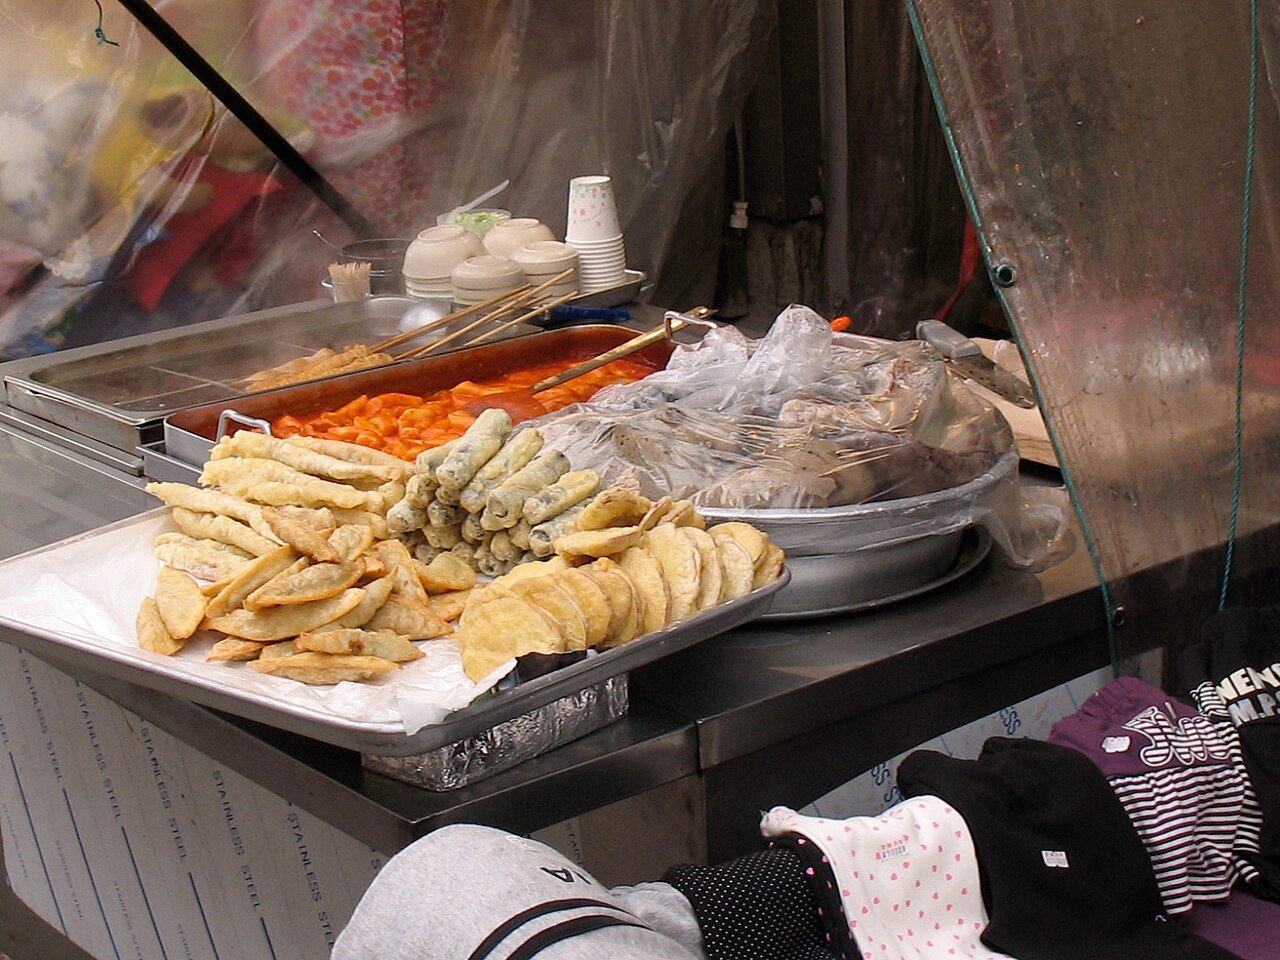
What’s actually in that basket of golden, oddly-shaped fried things sitting next to every tteokbokki pot at a Korean street stall? That’s twigim, and the honest answer is: whatever the stall had on hand that morning, cut thin and dropped in batter. Sweet potato, onion rings, whole perilla leaves, shrimp, squid, a stuffed mandu dumpling if they’re feeling ambitious. There’s no fixed lineup. What does stay fixed, and what actually separates a good batch from a greasy one, is the batter and the frying temperature — and that’s the part most home versions get wrong.
Quick Facts
| Time | 20 min prep, 20 min frying |
| Makes | About 30 pieces, 4 servings as a snack |
| Difficulty | Medium — deep-frying technique, not a long ingredient list |
| Spice level | 1 / 5, spice is in the optional dip |
| Vegan? | Yes, with the shrimp left out |
Twigim Is a Category, Not One Dish
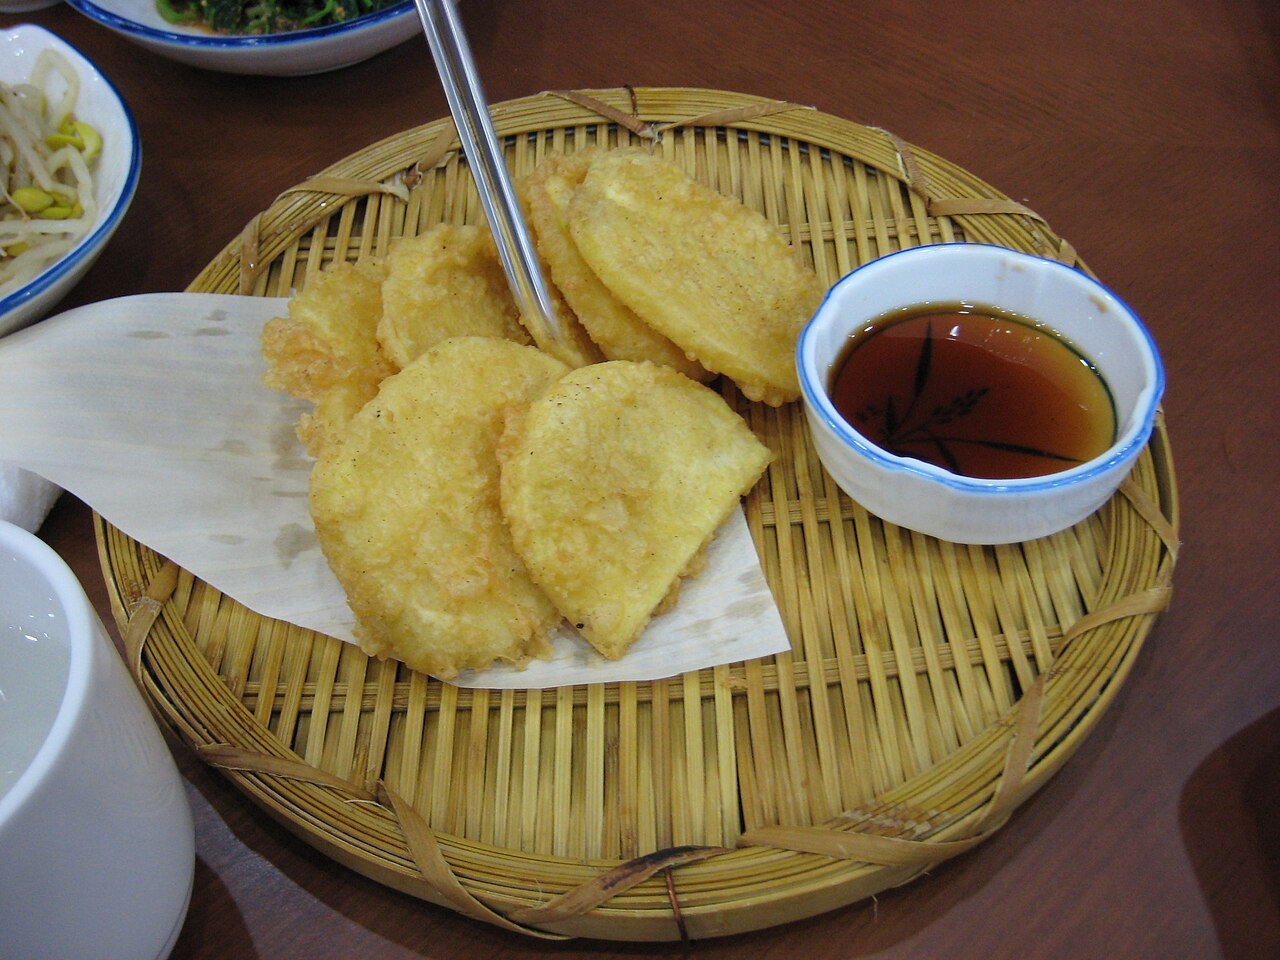
Twigim (튀김) just means “fried thing” — the word covers a whole family of battered, deep-fried snacks rather than one specific recipe, the same way “fritter” does in English. At a bunsik stall you’ll typically see a tray divided by type: goguma twigim (sweet potato), yachae twigim (mixed vegetables), saeu twigim (shrimp), ojingeo twigim (squid), and often a mandu dumpling fried the same way. You point at what you want, the vendor drops a few pieces back in the fryer to reheat and crisp, and it comes wrapped in paper with a squeeze bottle of soy sauce nearby.
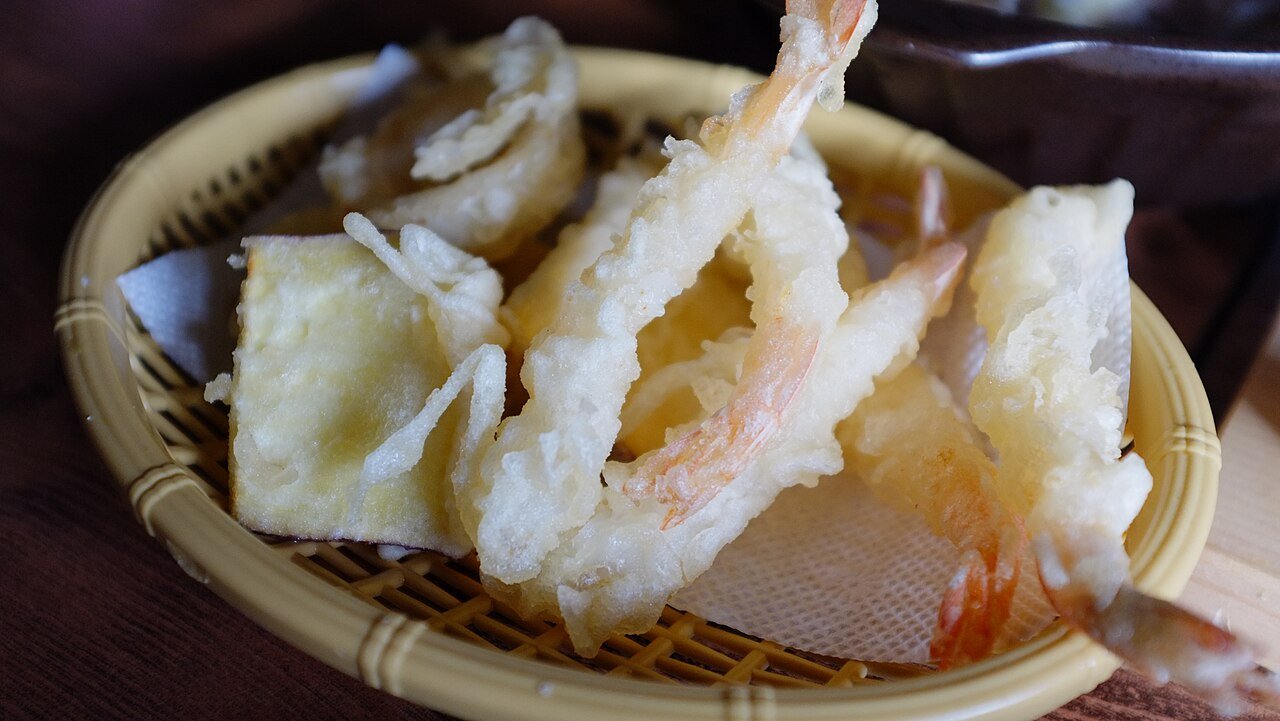
It sits in the same family as Japanese tempura — both are a light batter, deep-fried fast and hot — but the two have diverged in small, real ways. Korean twigim batter tends to include a bit of cornstarch alongside the flour for a slightly more shattering crunch, and the classic dip is a plain soy-vinegar sauce rather than tempura’s dashi-based tsuyu. At a street stall, the more common move isn’t a dipping sauce at all — it’s to dunk the whole piece straight into the broth from a nearby pot of eomuk skewer soup, which sounds odd until you’ve actually tasted hot fish-cake broth soaking into a still-crisp fritter.
Ingredients, and What to Use Instead
For about 30 pieces.
| Ingredient | Where to get it, or what to use instead |
|---|---|
| Sweet potato, matchsticks | Regular potato or butternut squash both crisp up well, just less sweet. |
| Onion, rings | Zucchini rounds are the easiest direct swap if onion isn’t appealing fried whole. |
| Perilla leaves, whole | Shiso leaves are the closest relative. If you can’t find either, just fry more of the vegetables you do have — the leaves are more texture than essential flavor. |
| Shrimp, peeled, tails on | Sliced squid rings work the same way. Leave them out entirely for an all-vegetable batch. |
| Flour + cornstarch | All-purpose flour alone still fries fine; the cornstarch is what pushes the crust from “crisp” to “shatters when you bite it,” so it’s worth keeping if you can. |
| Neutral oil, for frying | Anything with a high smoke point — canola, vegetable, or peanut oil. Olive oil will smoke before the batter’s done. |
The Batter Is the Whole Recipe
Two things matter more than anything else here, and they both come down to temperature. The batter has to be ice-cold, cold enough that you can feel it against your hand, because a cold batter hitting hot oil creates a rapid burst of steam that’s what makes the crust puff and crisp rather than sink and go dense. Some cooks use cold sparkling water in place of still water for exactly this reason — the bubbles add a little extra lift. Either way, mix it briefly and stop as soon as it’s combined. A few visible lumps of dry flour are fine, even good; overmixing develops gluten, and developed gluten is what makes a fritter chewy instead of light.
The oil has to actually be hot enough, 170 to 180°C (340 to 355°F), before anything goes in. Test it with a small drop of batter — it should sizzle immediately and float back to the surface within a couple of seconds. Oil that’s too cool doesn’t fry so much as slowly poach the batter in fat, and that’s the difference between a crisp fritter and a greasy, soggy one that tastes exactly as bad as it sounds. Frying in small batches matters for the same reason: too much food dropped in at once drags the oil temperature down fast, and it won’t recover before the batch is done.
Twigim Recipe
Ingredients
Method
- Cut all the vegetables into thin, even pieces — thickness is what decides whether the inside cooks through before the batter over-browns.
- Whisk the flour, cornstarch, baking powder and salt together dry, then pour in the ice-cold water and stir just until combined, leaving a few visible lumps.
- Heat the oil to 170 to 180°C / 340 to 355°F in a deep, heavy pot — test with a drop of batter, which should sizzle and rise within a couple of seconds.
- Dip each piece of vegetable or shrimp in the batter, letting the excess drip off, and lower it into the oil away from you.
- Fry in small batches of 4 to 5 pieces, 3 to 4 minutes, until golden and the bubbling around them has visibly slowed.
- Lift out with a slotted spoon or spider onto a wire rack, not paper towels, so steam escapes from underneath instead of softening the bottom.
- Let the oil come back up to temperature between batches before adding the next one.
- Stir together the soy sauce, rice vinegar, scallion and gochugaru for the dipping sauce and serve it alongside while the twigim is still hot.
Frying, Step by Step
Cut everything thin and even first — twigim vegetables are sliced thinner than you’d think, because the goal is for the inside to cook through in the same three or four minutes it takes the outside to turn golden. Whisk the dry ingredients, add the cold liquid, stop stirring while it’s still a little lumpy, and keep the bowl over ice if your kitchen is warm.
Dip each piece, let the excess batter drip off rather than dragging a thick coat into the oil, and lower it in away from you so a splash doesn’t land on your hand. Four or five pieces per batch is plenty for a home pot — crowd it further and the temperature drop shows up immediately as pale, oily results. Three to four minutes gets you there, and the visual cue is as reliable as a timer: the aggressive bubbling around each piece noticeably slows down once the inside is cooked and the moisture has mostly cooked off.
Lift everything onto a wire rack, not a plate lined with paper towels. Paper towels trap steam underneath the fritter, and that trapped steam is what turns a crisp bottom soft within a couple of minutes. A rack lets air move under the piece the whole time it’s resting.
The Dip
A simple soy-vinegar dip — soy sauce, rice vinegar, chopped scallion, a pinch of gochugaru if you want color and a little heat — is the standard at most stalls and takes thirty seconds to put together. If you happen to have a pot of fish-cake broth going on the stove already, from a batch of tteokbokki or an eomuk soup, dunking a hot piece of twigim straight into it for a second before eating is worth trying at least once. It’s genuinely how a lot of people eat it standing at a stall, broth running down their fingers, and it’s a different experience from the dry dipping sauce.
Storage and Reheating
Twigim is at its best within minutes of coming out of the oil and it only gets worse from there, so frying to order in small batches is the honest approach rather than making a huge batch in advance. If you do have leftovers, refrigerate them uncovered or loosely covered — sealing them in an airtight container traps moisture against the crust and guarantees sogginess by morning. To bring them back, a hot oven or an air fryer at around 200°C (400°F) for four or five minutes restores most of the crispness. Skip the microwave entirely; it steams the batter rather than re-crisping it, and you’ll end up with something limp no matter how long you run it.
Common Questions
Can I make twigim without deep-frying?
An air fryer gets you closer than baking does, though the crust will be thinner and less shatteringly crisp than a proper deep fry — brush the battered pieces lightly with oil first and run them at around 190°C (375°F) for 8 to 10 minutes, flipping halfway. It’s a reasonable weeknight compromise, not a perfect substitute.
What oil should I use?
Anything neutral with a high smoke point works — canola, vegetable, sunflower, or peanut oil. Avoid olive oil, which smokes and turns bitter well before the oil is hot enough to fry properly.
Can I prep the batter or vegetables ahead of time?
Cut the vegetables ahead and keep them refrigerated, wrapped so they don’t dry out. The batter itself should be mixed just before frying — it loses its lift the longer it sits, and a batter that’s been resting for an hour won’t puff the same way a freshly mixed one does.
Related
Twigim rarely shows up alone — at a real bunsik stall it sits next to a pot of tteokbokki and, more and more these days, a bowl of rabokki built from the same sauce. If a plate of kimbap is part of your spread too, our kimbap recipe covers the rolling technique in full. Gwangjang Market in Seoul runs entire alleys on fried snacks like these, and k-trips has a guide to that market’s street food if you’re planning a trip around eating your way through it.